Phoenix LiveView Basics
| I am currently in the process of updating this document to the latest Elixir and Phoenix version. Please help me by sending me bug reports (ideally as GitHub issues). Thank you! |
LiveView, according to the documentation, "provides rich, real-time user experiences with server-rendered HTML". This means that you can create modern, interactive UIs without writing any JavaScript. With Phoenix 1.8 and LiveView 1.0, the LiveView ecosystem has matured into a robust, production-ready solution for building interactive web applications.
| Feel free to skip this chapter if you are not interested in developing apps with real-time user experiences. You can come back at any time. |
Under the hood, LiveView maintains a WebSocket connection between the client and server sides. It also uses JavaScript, but this is as lightweight as possible and uses a lot fewer resources than most JavaScript frameworks.
One cool thing about LiveView is that on the initial request Phoenix delivers a regular HTML page which includes all the design and content you want it to have, so the user doesn’t have to wait for the JavaScript to load to have a good webpage. As a side effect, all search engines can use it right away without having to rely on JavaScript.
During this chapter, I’ll show you a few examples. They are meant to give you an idea of the possibilities. If LiveView is the right choice for your project, you’ll have to invest more time experimenting with it afterwards.
Light Switch
The light switch is the "Hello World!" of LiveView.
| I stole the light switch idea from Pragmatic Studio’s online course at https://online.pragmaticstudio.com/courses/liveview |
We start with a fresh Phoenix application:
$ mix phx.new demo --live --no-ecto (1)
* creating demo/config/config.exs
* creating demo/config/dev.exs
* creating demo/config/prod.exs

[...]

Fetch and install dependencies? [Yn] (2)

[...]

We are almost there! The following steps are missing:

    $ cd demo

Start your Phoenix app with:

    $ mix phx.server

You can also run your app inside IEx (Interactive Elixir) as:

$ iex -S mix phx.server| 1 | The --live flag adds all the necessary components to use LiveView out of the box. For this example, we don’t need Ecto, so we use --no-ecto. Phoenix 1.8 includes Tailwind CSS and daisyUI by default, providing a complete component and theming system with built-in light and dark mode support. |
| 2 | Click Y and, depending on your internet connection, maybe grab a cup of coffee. |
The aim of this demo is to create a new webpage with the path /light which offers a status of a virtual light bulb and a switch functionality to turn that light bulb on and off - all this without reloading the page and without writing any JavaScript.
First we have to add the route:
defmodule DemoWeb.Router do
  use DemoWeb, :router

  [...]

  scope "/", DemoWeb do
    pipe_through :browser

    get "/", PageController, :home (1)
    live "/light", LightLive (2)
  end

[...]| 1 | In Phoenix 1.7+, the default root path uses a regular controller instead of a LiveView. You can change this to a LiveView if desired. |
| 2 | This is the new light route which leads to the LightLive module. |
LiveView modules are located in the lib/demo_web/live/ directory. There we have to create our new LightLive module:
defmodule DemoWeb.LightLive do
  use DemoWeb, :live_view

  def render(assigns) do (1)
    ~H"""
    <h1 class="text-2xl font-bold mb-4">The light is off.</h1>
    """
  end
end| 1 | The render/1 function renders the template. In Phoenix 1.7+, we use the ~H sigil for HEEx templates instead of the deprecated ~L sigil. Note the Tailwind CSS classes added to the h1 element. |
In this case, we use the Have a look at https://hexdocs.pm/phoenix_live_view/Phoenix.LiveView.html for more information. |
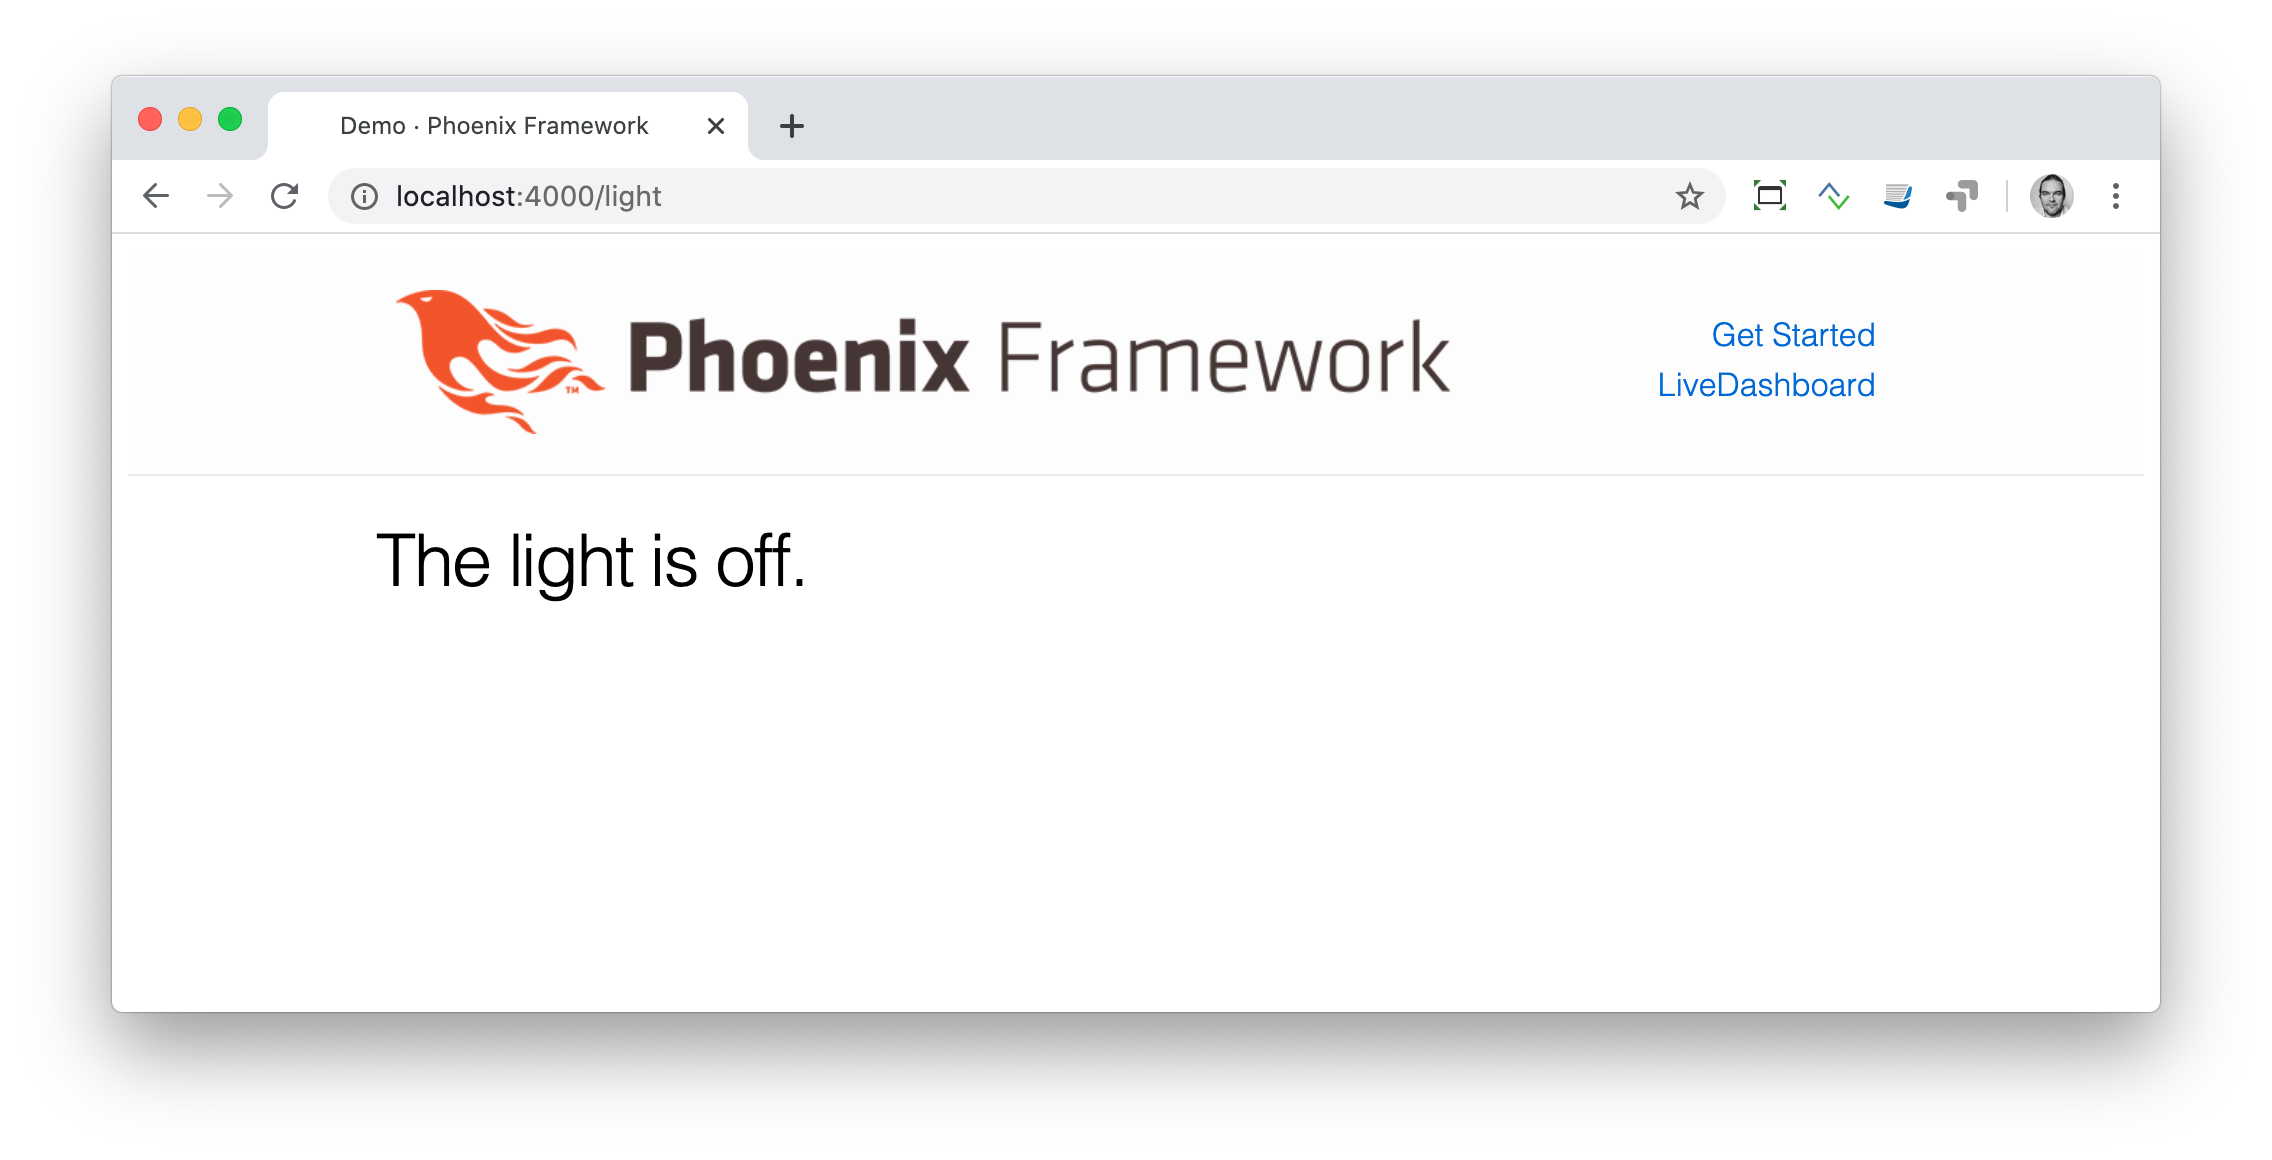
Now, let’s open the URL http://localhost:4000/light in the browser.
We want to be able to change the word off to on. To do that, we need to make two changes to the light_live.ex file:
Replace the word
offwith a variable.Assign that variable to the socket struct (which is used to transport that information). To update the socket struct, we need to define the
mount/3function.
defmodule DemoWeb.LightLive do
  use DemoWeb, :live_view

  def mount(_params, _session, socket) do (1)
    socket = assign(socket, :light_bulb_status, "off") (2)
    {:ok, socket}
  end

  def render(assigns) do
    ~H"""
    <h1 class="text-2xl font-bold mb-4">The light is <%= @light_bulb_status %>.</h1>
    """
  end
end| 1 | Out of all the possible parameters of mount/3 we only need the socket struct for our example. |
| 2 | We set the initial value of the variable light_bulb_status to off. |
The browser automatically reloads, but the page’s content hasn’t changed. We do know, though, that the off is no longer static content.
To turn on the light bulb we need a button:
def render(assigns) do
  ~H"""
  <h1 class="text-2xl font-bold mb-4">The light is <%= @light_bulb_status %>.</h1>
  <button
    type="button"
    phx-click="on"
    class="px-4 py-2 rounded bg-green-600 text-white hover:bg-green-700 focus:outline-none focus:ring-2 focus:ring-green-500 focus:ring-opacity-50">
    On
  </button> (1)
  """
end| 1 | The button tag includes phx-click="on" which is special Phoenix code to trigger an event. We’ve added Tailwind CSS classes for styling. |
Now we see the button on the webpage:
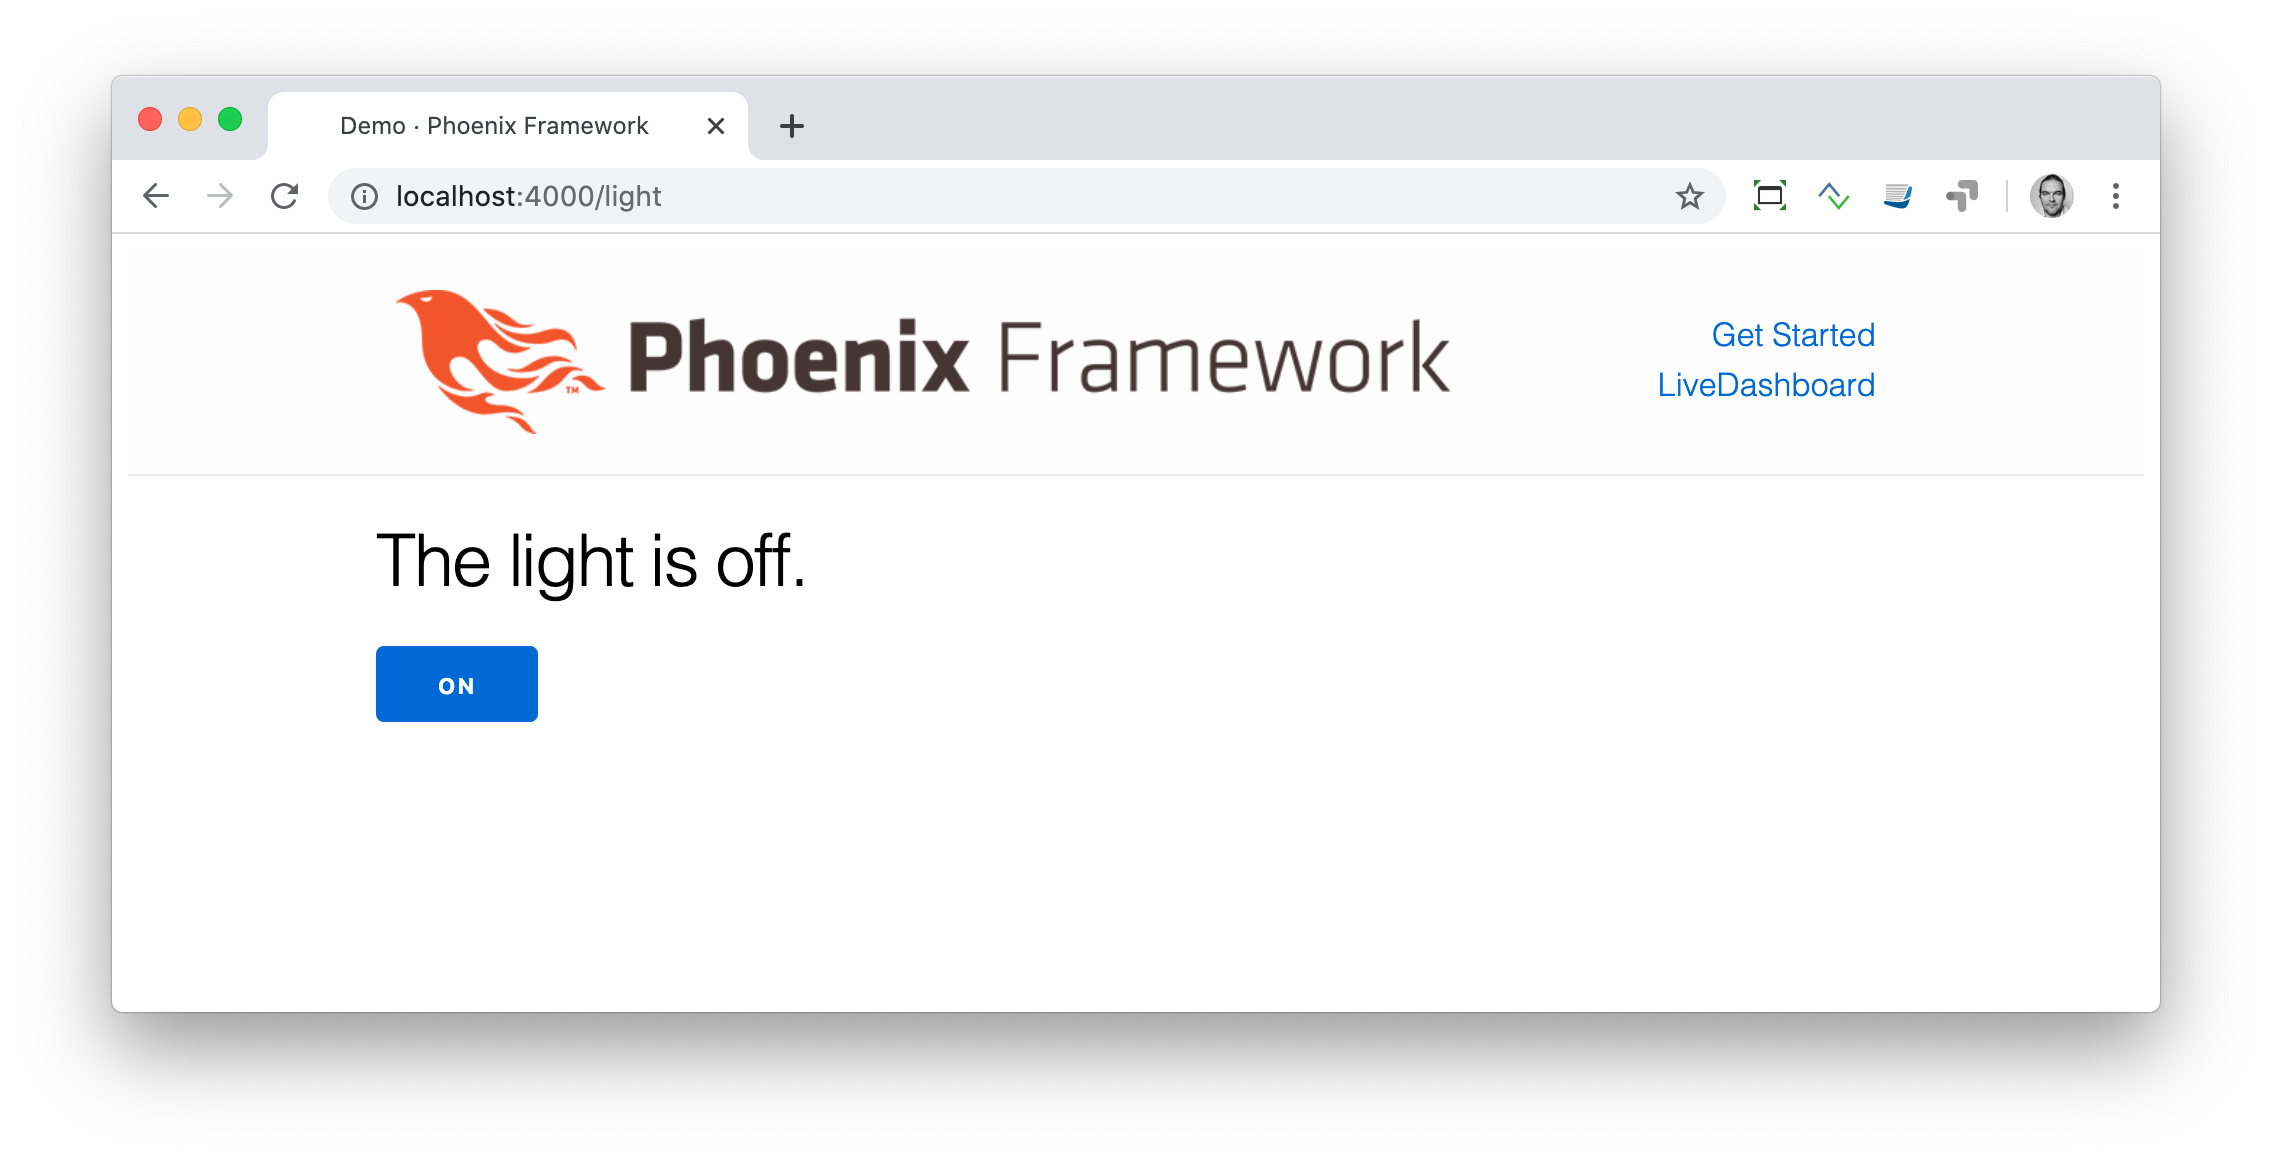
But clicking on the button doesn’t do anything. We have to add a handle_event/3 function for the on event:
defmodule DemoWeb.LightLive do
  use DemoWeb, :live_view

  def mount(_params, _session, socket) do
    socket = assign(socket, :light_bulb_status, "off")
    {:ok, socket}
  end

  def render(assigns) do
    ~L"""
    <h1>The light is <%= @light_bulb_status %>.</h1>
    <button phx-click="on">On</button>
    """
  end

  def handle_event("on", _value, socket) do (1)
    socket =
      socket
      |> assign(:light_bulb_status, "on") (2)

    {:noreply, socket}
  end
end| 1 | We don’t need the _value parameter. Just the first parameter to match the function and the socket struct. |
| 2 | We set the light_bulb_status variable to on. |
To use the pipe operator in the |
Now, we can load the page having the light off. After clicking on the button the text updates to on.

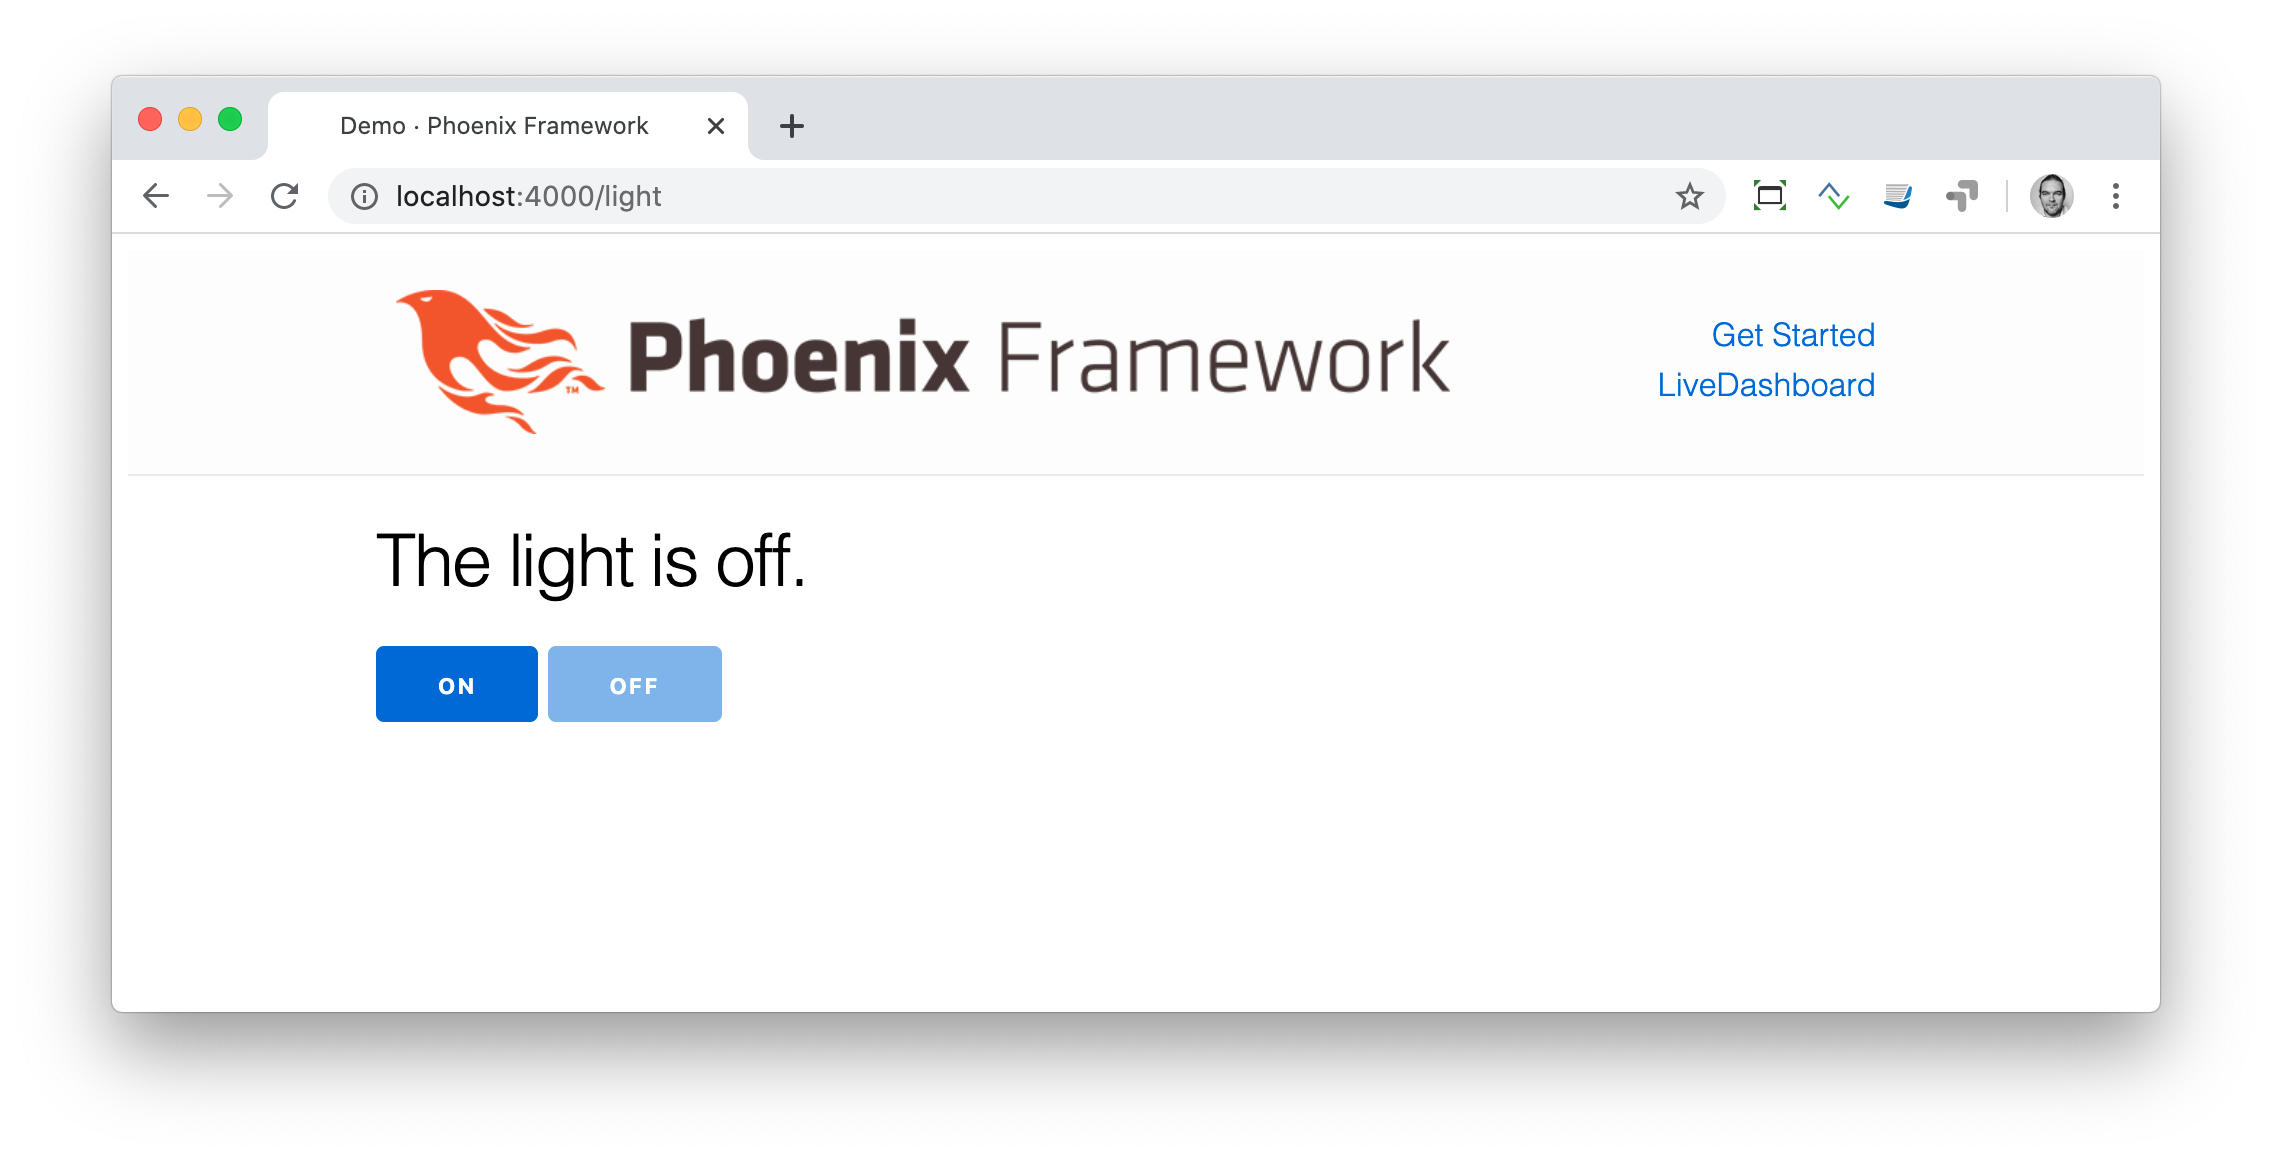
But it would be nice to add a second button so that we can switch the light off again. Also, we have to add another event handler for the off event:
defmodule DemoWeb.LightLive do
  use DemoWeb, :live_view

  def mount(_params, _session, socket) do
    socket = assign(socket, :light_bulb_status, "off")
    {:ok, socket}
  end

  def render(assigns) do
    ~L"""
    <h1>The light is <%= @light_bulb_status %>.</h1>
    <button phx-click="on">On</button>
    <button phx-click="off">Off</button>
    """
  end

  def handle_event("on", _value, socket) do
    socket =
      socket
      |> assign(:light_bulb_status, "on")

    {:noreply, socket}
  end

  def handle_event("off", _value, socket) do
    socket =
      socket
      |> assign(:light_bulb_status, "off")

    {:noreply, socket}
  end
end
Now we have a webpage with two buttons which work to turn the imaginary light on and off. However, I don’t like that both buttons are active all the time. That is bad UX. Let’s fix that:
defmodule DemoWeb.LightLive do
  use DemoWeb, :live_view

  def mount(_params, _session, socket) do
    socket = assign(socket, :light_bulb_status, "off") (1)
    {:ok, socket}
  end

  def render(assigns) do
    ~H"""
    <h1 class="text-2xl font-bold mb-4">The light is <%= @light_bulb_status %>.</h1>

    <button
      type="button"
      phx-click="on"
      class="px-4 py-2 rounded bg-green-600 text-white disabled:opacity-40 hover:bg-green-700 focus:outline-none focus:ring-2 focus:ring-green-500 focus:ring-opacity-50"
      disabled={@light_bulb_status == "on"}>
      On
    </button>

    <button
      type="button"
      phx-click="off"
      class="px-4 py-2 rounded bg-gray-600 text-white disabled:opacity-40 hover:bg-gray-700 focus:outline-none focus:ring-2 focus:ring-gray-500 focus:ring-opacity-50"
      disabled={@light_bulb_status == "off"}>
      Off
    </button> (2)
    """
  end

  def handle_event("on", _value, socket) do
    socket = assign(socket, :light_bulb_status, "on") (3)
    {:noreply, socket}
  end

  def handle_event("off", _value, socket) do
    socket = assign(socket, :light_bulb_status, "off")
    {:noreply, socket}
  end
end| 1 | We only need to track the light bulb status now, as we’ll use it directly with the disabled attribute |
| 2 | We use the disabled attribute with a conditional expression to disable buttons based on the current state |
| 3 | We simply toggle the light bulb status in each event handler |
We are all set. The buttons work in the way a user would like them to work and all without writing a single line of JavaScript. Phoenix LiveView takes care of all the updates. We can concentrate on the application development with Elixir.
Please open your browser at http://localhost:4000/light and give it a try.
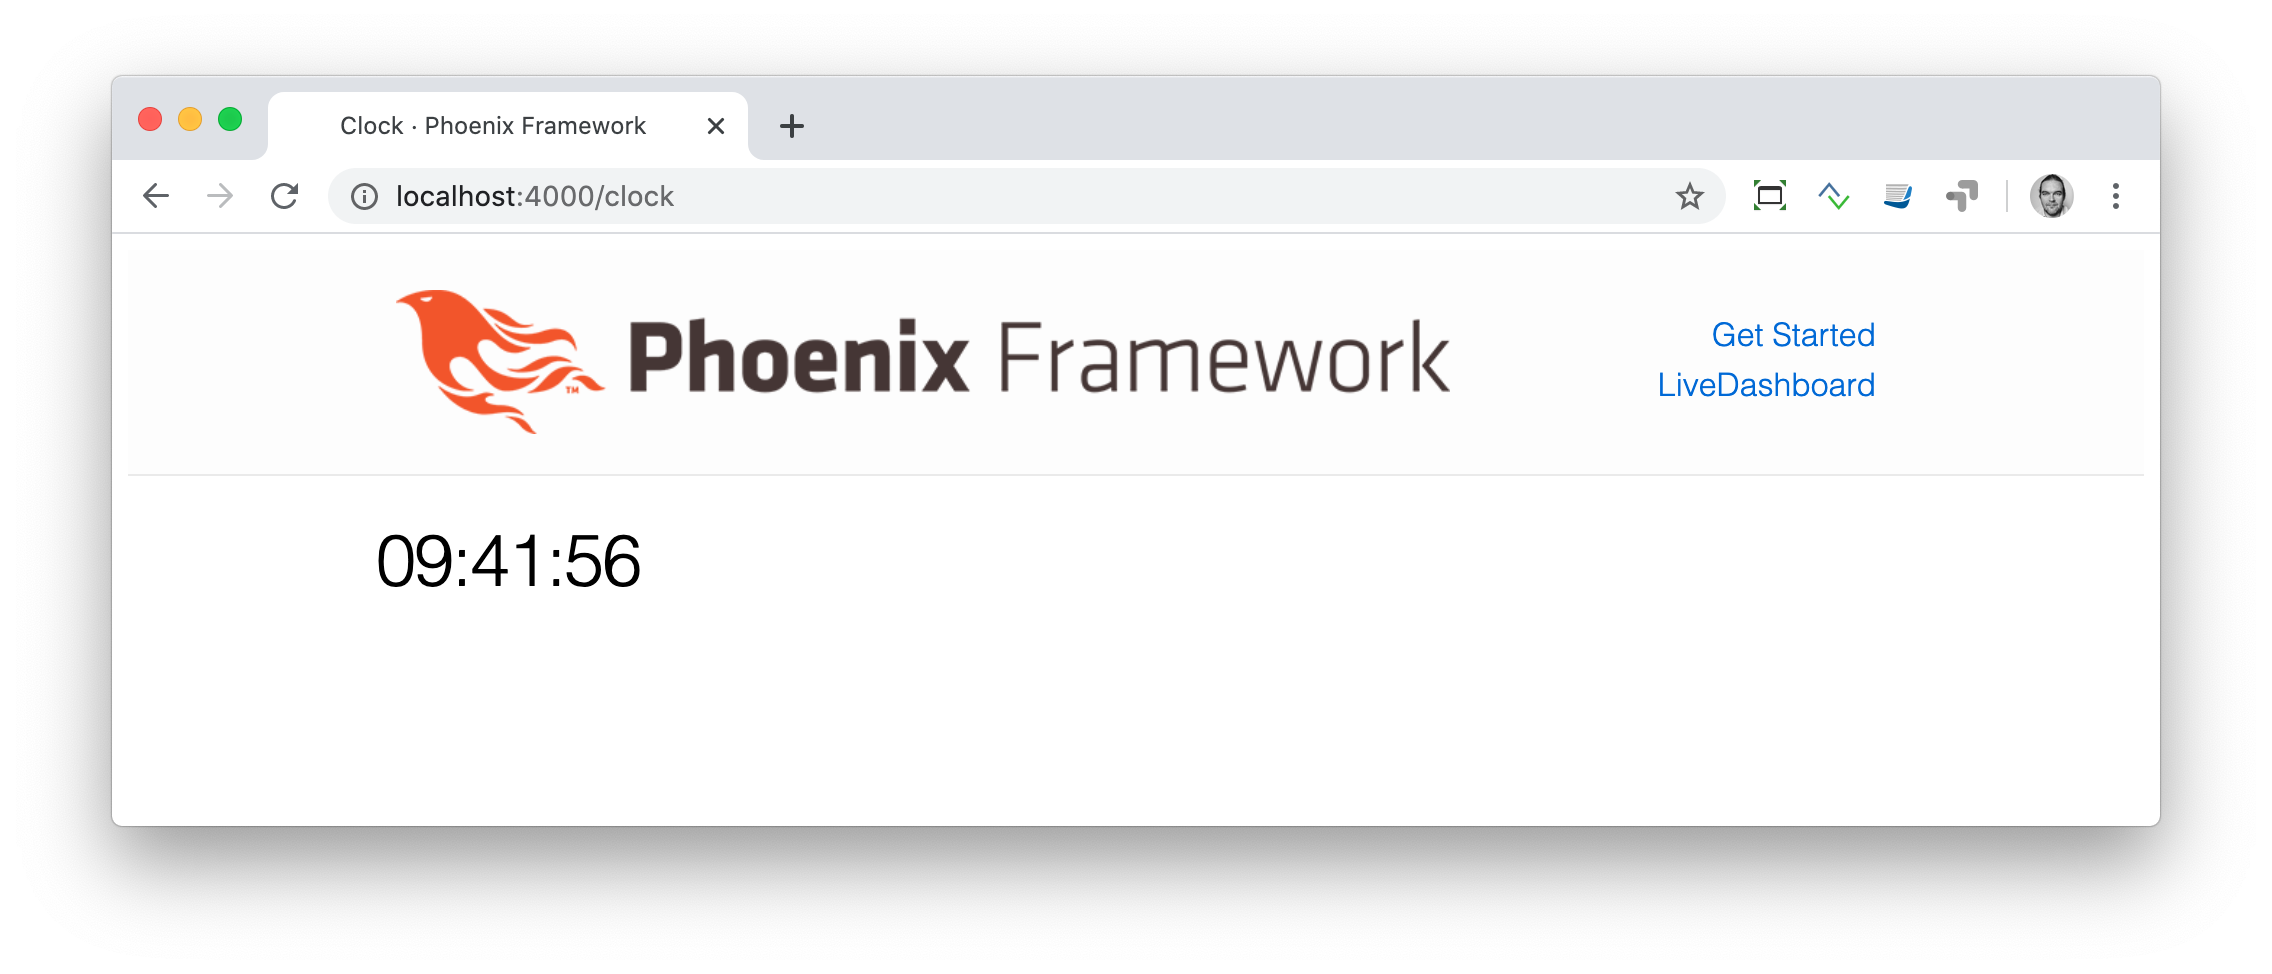
Clock
The clock is an example of content that is pushed and triggered by the server, without any user interaction. It displays the current server time on a webpage.
We start with a fresh Phoenix application:
$ mix phx.new clock --live --no-ecto (1)
* creating demo/config/config.exs
* creating demo/config/dev.exs

[...]

$ cd clock| 1 | No need to complicate things by adding Ecto to this example. |
The first thing is always to add a new route for the LiveView:
defmodule ClockWeb.Router do
  use ClockWeb, :router

  [...]

  scope "/", ClockWeb do
    pipe_through :browser

    live "/", PageLive, :index
    live "/clock", ClockLive (1)
  end

[...]| 1 | Our new clock will be available at http://localhost:4000/clock |
defmodule ClockWeb.ClockLive do
  use ClockWeb, :live_view

  def mount(_params, _session, socket) do
    if connected?(socket) do (1)
      :timer.send_interval(1000, self(), :tick) (2)
    end

    socket = assign_current_time(socket) (3)
    {:ok, socket}
  end

  def render(assigns) do
    ~L"""
    <h1><%= @now %></h1>
    """
  end

  def handle_info(:tick, socket) do (4)
    socket = assign_current_time(socket)

    {:noreply, socket}
  end

  def assign_current_time(socket) do
    now =
      Time.utc_now() (5)
      |> Time.to_string()
      |> String.split(".") (6)
      |> hd

    assign(socket, now: now) (7)
  end
end| 1 | mount/3 gets called twice. The first time when the initial HTTP-Request gets answered. That would be the initial webpage. And a second time when the LiveView JavaScript client has connected to the WebSocket. We want to start our timer at that second request. |
| 2 | This uses the Erlang :timer module to fire up a timer which calls the tick/1 function every 1,000 milliseconds. |
| 3 | The assign_current_time/1 function gets called to add the now value to the socket struct. |
| 4 | handle_info/2 gets called by the 1-second timer to update the value of now. |
| 5 | Time.utc_now() returns the current time on the server. |
| 6 | This pipeline is just used so that the time is displayed without the milliseconds. |
| 7 | Returns a socket struct. |
Fire up the webserver with mix phx.server and open http://localhost:4000/clock in your browser.
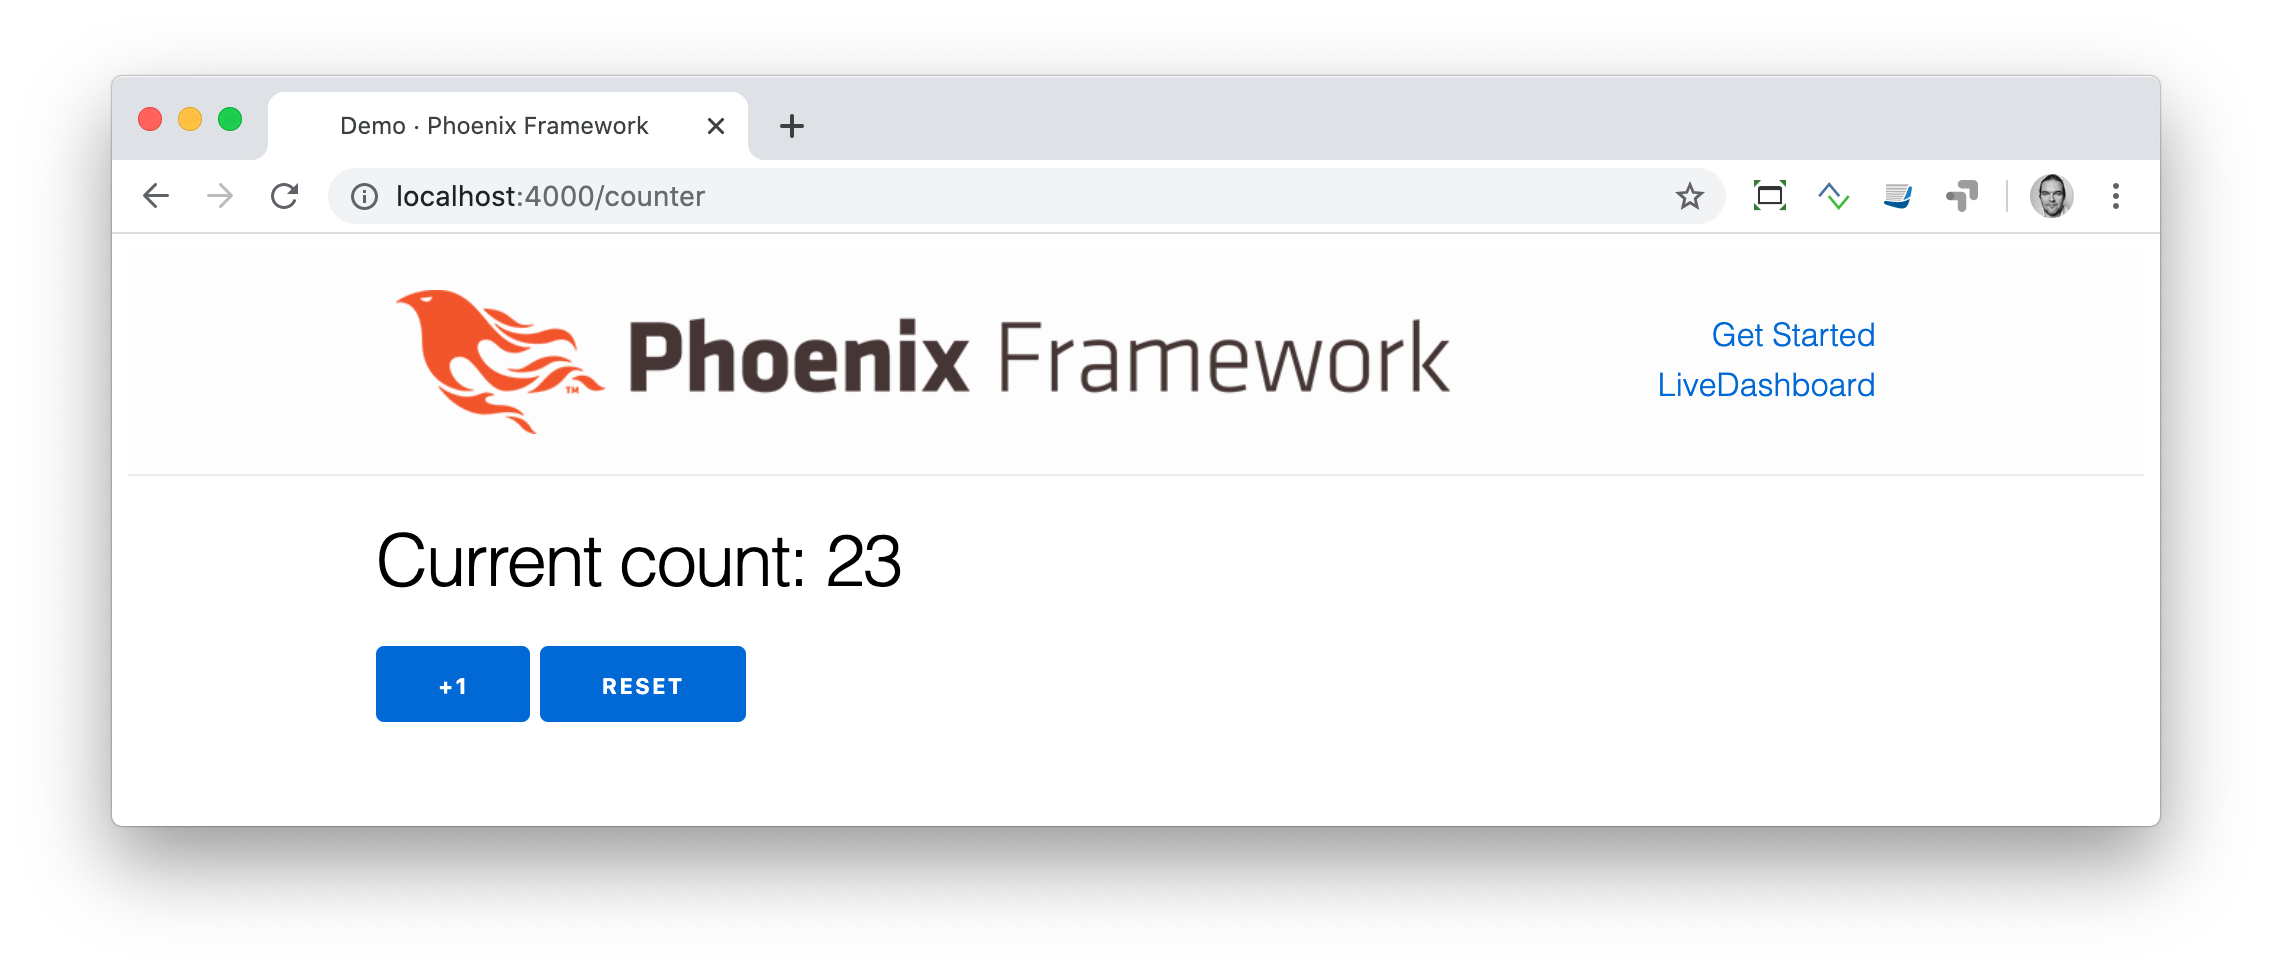
Counter
This LiveView example will generate a simple counter. It starts at 0, and each time you click on a button, it will increase by one.
$ mix phx.new demo --live --no-ecto
[...]
$ cd demoscope "/", DemoWeb do
pipe_through :browser
live "/", PageLive, :index
live "/counter", CounterLive (1)
end| 1 | The counter will be available at http://localhost:4000/counter |
Now we have to create the lib/demo_web/live/counter_live.ex file and fill it with live:
defmodule DemoWeb.CounterLive do
  use DemoWeb, :live_view

  def mount(_params, _session, socket) do
    socket = assign(socket, :counter, 0) (1)
    {:ok, socket}
  end

  def render(assigns) do
    ~L"""
    <h1>Current count: <%= @counter %></h1> (2)
    <button phx-click="inc">+1</button> (3)
    <button phx-click="reset">Reset</button> (4)
    """
  end

  def handle_event("inc", _, socket) do
    socket = update(socket, :counter, &(&1 + 1)) (5)
    {:noreply, socket}
  end

  def handle_event("reset", _, socket) do
    socket = assign(socket, :counter, 0) (6)
    {:noreply, socket}
  end
end| 1 | We set the initial value of counter to 0. |
| 2 | Display the value of @counter. |
| 3 | Increase by 1 button. |
| 4 | Reset the counter to 0 button. |
| 5 | update/3 is used to call a capture function to increase the value of the counter by 1. |
| 6 | We reset the counter to 0 here. |
Please open your browser at http://localhost:4000/counter and give it a try.
assign vs update
In the counter example, we use the update/3 function to set the new counter value:
def handle_event("inc", _, socket) do
  socket = update(socket, :counter, &(&1 + 1))
  {:noreply, socket}
end
We could achieve the same result by using the assign/3 function, but to do that we would first have to get the value of counter from the socket struct:
def handle_event("inc", _, socket) do
  counter = socket.assigns.counter + 1
  socket = assign(socket, :counter, counter)
  {:noreply, socket}
end
Both versions work fine, but in this case, update/3 is a bit more elegant.
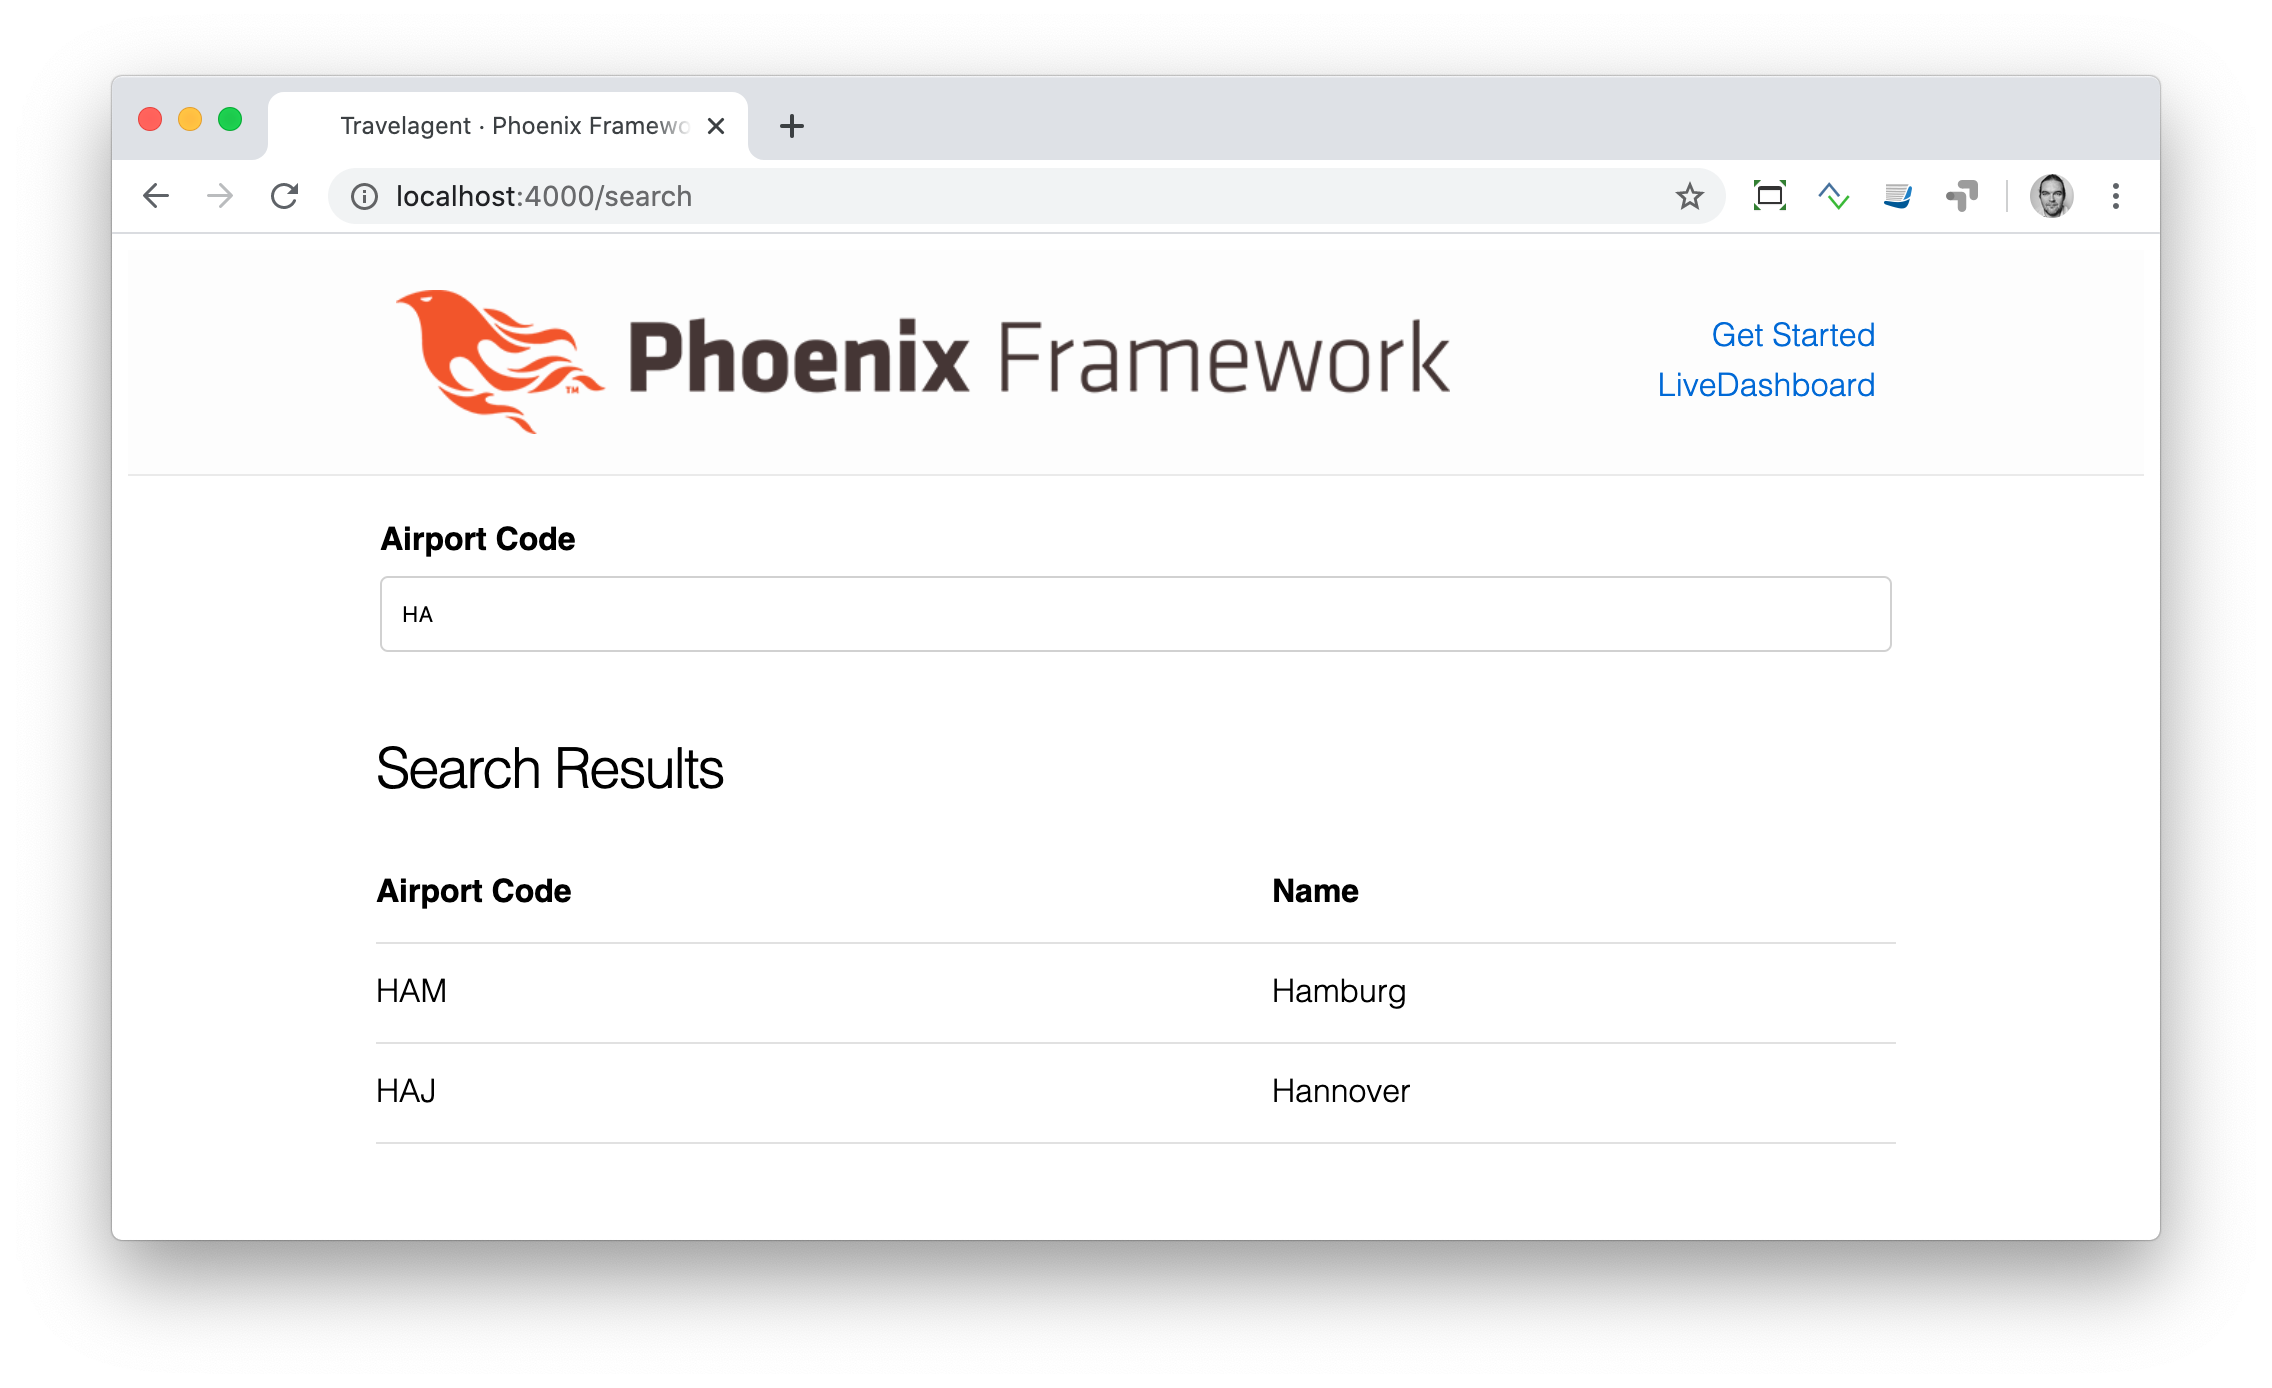
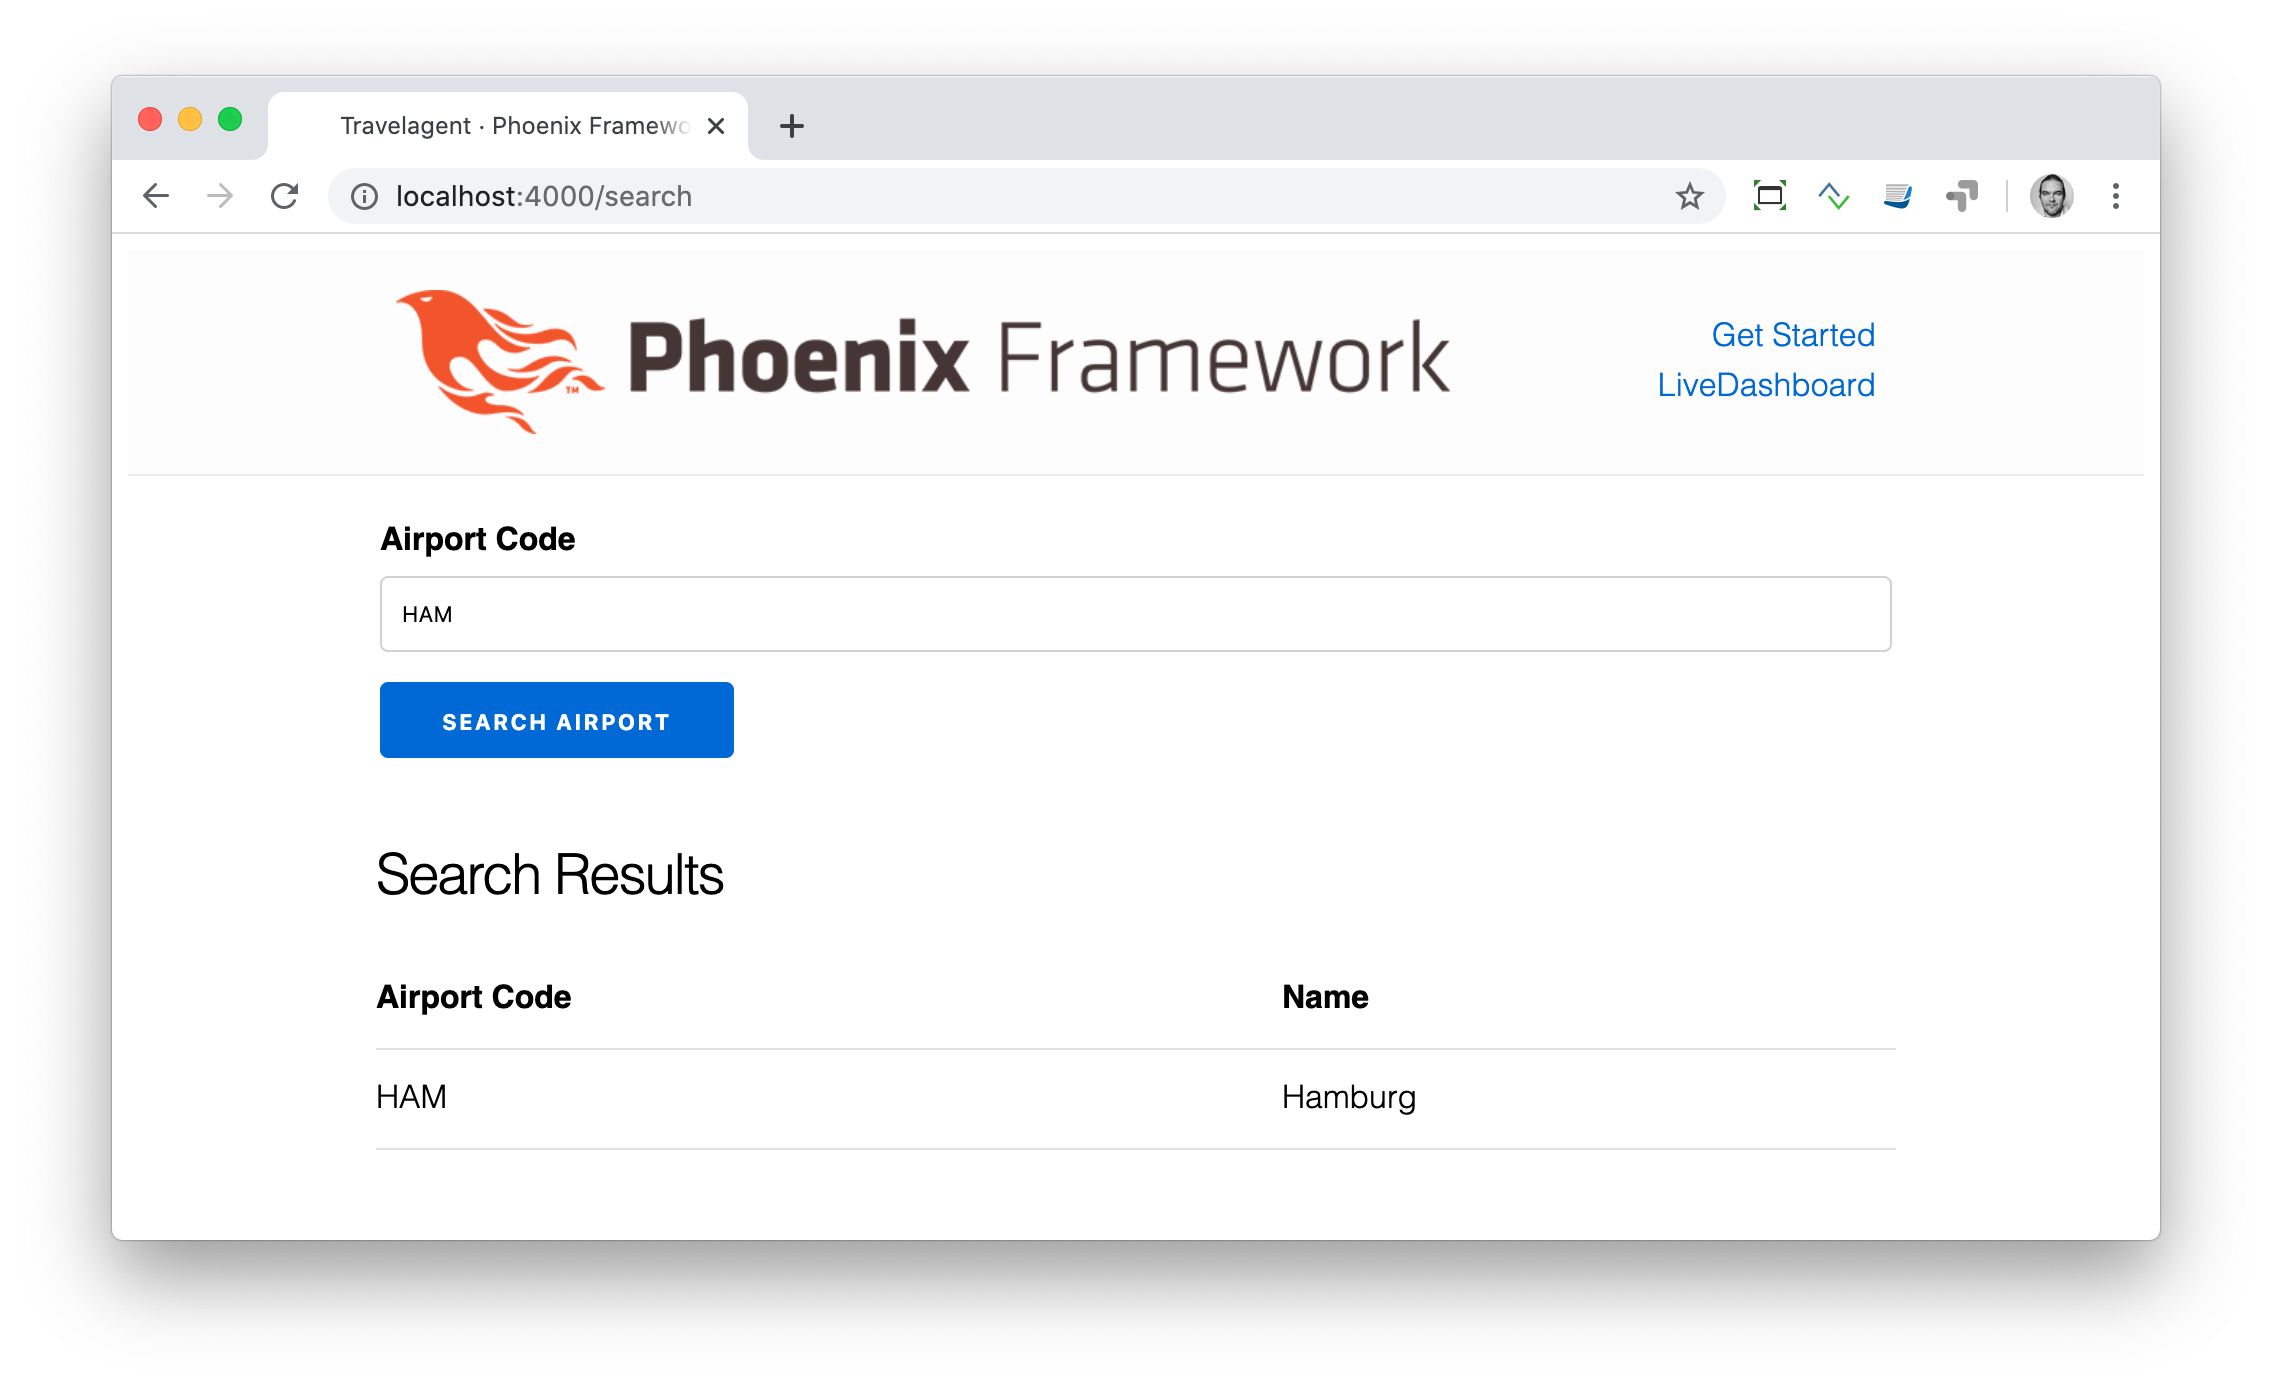
Airport Code Search
In this LiveView example, we create a search field for airport codes.
$ mix phx.new travelagent --live --no-ecto
$ cd travelagent
We begin with the route of the new page:
[...]
scope "/", TravelagentWeb do
  pipe_through :browser

  live "/", PageLive, :index
  live "/search", SearchLive
end
[...]
Next, we need to create a module which holds a list of airport codes / names and a search function. We’ll put this into lib/travelagent/airports.ex
defmodule Travelagent.Airports do
  def search_by_code(""), do: [] (1)

  def search_by_code(code) do (2)
    list_airports()
    |> Enum.filter(&String.starts_with?(&1.code, code))
  end

  def list_airports do (3)
    [
      %{name: "Berlin Brandenburg", code: "BER"},
      %{name: "Berlin Schönefeld", code: "SXF"},
      %{name: "Berlin Tegel", code: "TXL"},
      %{name: "Bremen", code: "BRE"},
      %{name: "Köln/Bonn", code: "CGN"},
      %{name: "Dortmund", code: "DTM"},
      %{name: "Dresden", code: "DRS"},
      %{name: "Düsseldorf", code: "DUS"},
      %{name: "Frankfurt", code: "FRA"},
      %{name: "Frankfurt-Hahn", code: "HHN"},
      %{name: "Hamburg", code: "HAM"},
      %{name: "Hannover", code: "HAJ"},
      %{name: "Leipzig Halle", code: "LEJ"},
      %{name: "München", code: "MUC"},
      %{name: "Münster Osnabrück", code: "FMO"},
      %{name: "Nürnberg", code: "NUE"},
      %{name: "Paderborn Lippstadt", code: "PAD"},
      %{name: "Stuttgart", code: "STR"}
    ]
  end
end| 1 | A search for an empty string results in an empty list. |
| 2 | search_by_code/1 searches for the first letter(s) in an airport code. |
| 3 | We hardcode a list of German airports here. In a real application, this would include more data and probably be database driven. |
This time we don’t use the ~H sigil directly in the controller but a separate HEEx Template file:
lib/travelagent_web/live/search_live.html.heex
<div class="max-w-2xl mx-auto">
  <form phx-submit="airport_code_search" class="mb-6">
    <div class="space-y-4">
      <label for="nameField" class="block text-sm font-medium text-gray-700">Airport Code</label>
      <input
        type="text"
        name="airport_code"
        value={@airport_code}
        placeholder="e.g. FRA"
        autofocus
        autocomplete="off"
        class="mt-1 block w-full rounded-md border-gray-300 shadow-sm focus:border-indigo-500 focus:ring-indigo-500 sm:text-sm" /> (1)
      <button
        type="submit"
        class="inline-flex justify-center py-2 px-4 border border-transparent shadow-sm text-sm font-medium rounded-md text-white bg-indigo-600 hover:bg-indigo-700 focus:outline-none focus:ring-2 focus:ring-offset-2 focus:ring-indigo-500">
        Search Airport
      </button>
    </div>
  </form>

  <%= unless @airports == [] do %> (2)
    <h2 class="text-xl font-semibold mb-4">Search Results</h2>
    <div class="overflow-x-auto">
      <table class="min-w-full divide-y divide-gray-200">
        <thead class="bg-gray-50">
          <tr>
            <th scope="col" class="px-6 py-3 text-left text-xs font-medium text-gray-500 uppercase tracking-wider">Airport Code</th>
            <th scope="col" class="px-6 py-3 text-left text-xs font-medium text-gray-500 uppercase tracking-wider">Name</th>
          </tr>
        </thead>
        <tbody class="bg-white divide-y divide-gray-200">
          <%= for airport <- @airports do %>
          <tr class="hover:bg-gray-50">
            <td class="px-6 py-4 whitespace-nowrap text-sm font-medium text-gray-900"><%= airport.code %></td>
            <td class="px-6 py-4 whitespace-nowrap text-sm text-gray-500"><%= airport.name %></td>
          </tr>
          <% end %>
        </tbody>
      </table>
    </div>
  <% end %>
</div>| 1 | Setting the first input field to autofocus improves user experience. The autocomplete="off" prevents browser autocomplete from interfering with our LiveView updates. |
| 2 | When the search returns a non-empty list, a table with the results will be displayed, styled with Tailwind CSS. |
Lastly, we need to update the TravelagentWeb.SearchLive module:
defmodule TravelagentWeb.SearchLive do
  use TravelagentWeb, :live_view
  alias Travelagent.Airports (1)

  def mount(_params, _session, socket) do
    socket =
      socket
      |> assign(:airport_code, "") (2)
      |> assign(:airports, [])

    {:ok, socket}
  end

  def handle_event(
        "airport_code_search",
        %{"airport_code" => airport_code},
        socket
      ) do
    airport_code = String.upcase(airport_code) (3)

    socket =
      socket
      |> assign(:airport_code, airport_code) (4)
      |> assign(:airports, Airports.search_by_code(airport_code)) (5)

    {:noreply, socket}
  end
end| 1 | One can argue if this alias is needed here. It results in a shorter line of code later on. |
| 2 | We assign the airport_code to empty and assign an empty list to airports. |
| 3 | We auto-uppercase each letter in the search string. |
| 4 | The uppercased search string gets returned to the view. |
| 5 | The result of the search gets returned to the view. |
Please open your browser at http://localhost:4000/search and give it a try.
Autocomplete
It would be nice to have some sort of autocomplete functionality for the airport code search. So that when I start to enter an h I’ll get all airports which codes begin with an h. Without having to click on the Search Airport button. Luckily for us, we only have to make a couple of changes in the LiveEEx Template file to achieve this.
lib/travelagent_web/live/search_live.html.heex
<div class="max-w-2xl mx-auto">
  <form phx-change="airport_code_search"> (1)
    <div class="space-y-4">
      <label for="nameField" class="block text-sm font-medium text-gray-700">Airport Code</label>
      <input
        type="text"
        name="airport_code"
        value={@airport_code}
        placeholder="e.g. FRA"
        autofocus
        autocomplete="off"
        class="mt-1 block w-full rounded-md border-gray-300 shadow-sm focus:border-indigo-500 focus:ring-indigo-500 sm:text-sm" />
    </div>
  </form>

  <%= unless @airports == [] do %>
    <h2 class="text-xl font-semibold mt-6 mb-4">Search Results</h2>
    <div class="overflow-x-auto">
      <table class="min-w-full divide-y divide-gray-200">
        <thead class="bg-gray-50">
          <tr>
            <th scope="col" class="px-6 py-3 text-left text-xs font-medium text-gray-500 uppercase tracking-wider">Airport Code</th>
            <th scope="col" class="px-6 py-3 text-left text-xs font-medium text-gray-500 uppercase tracking-wider">Name</th>
          </tr>
        </thead>
        <tbody class="bg-white divide-y divide-gray-200">
          <%= for airport <- @airports do %>
          <tr class="hover:bg-gray-50">
            <td class="px-6 py-4 whitespace-nowrap text-sm font-medium text-gray-900"><%= airport.code %></td>
            <td class="px-6 py-4 whitespace-nowrap text-sm text-gray-500"><%= airport.name %></td>
          </tr>
          <% end %>
        </tbody>
      </table>
    </div>
  <% end %>
</div>| 1 | We use phx-change for the form instead of phx-submit. This means that each keystroke triggers handle_event/3, providing real-time feedback. |
Please open your browser at http://localhost:4000/search and give it a try.